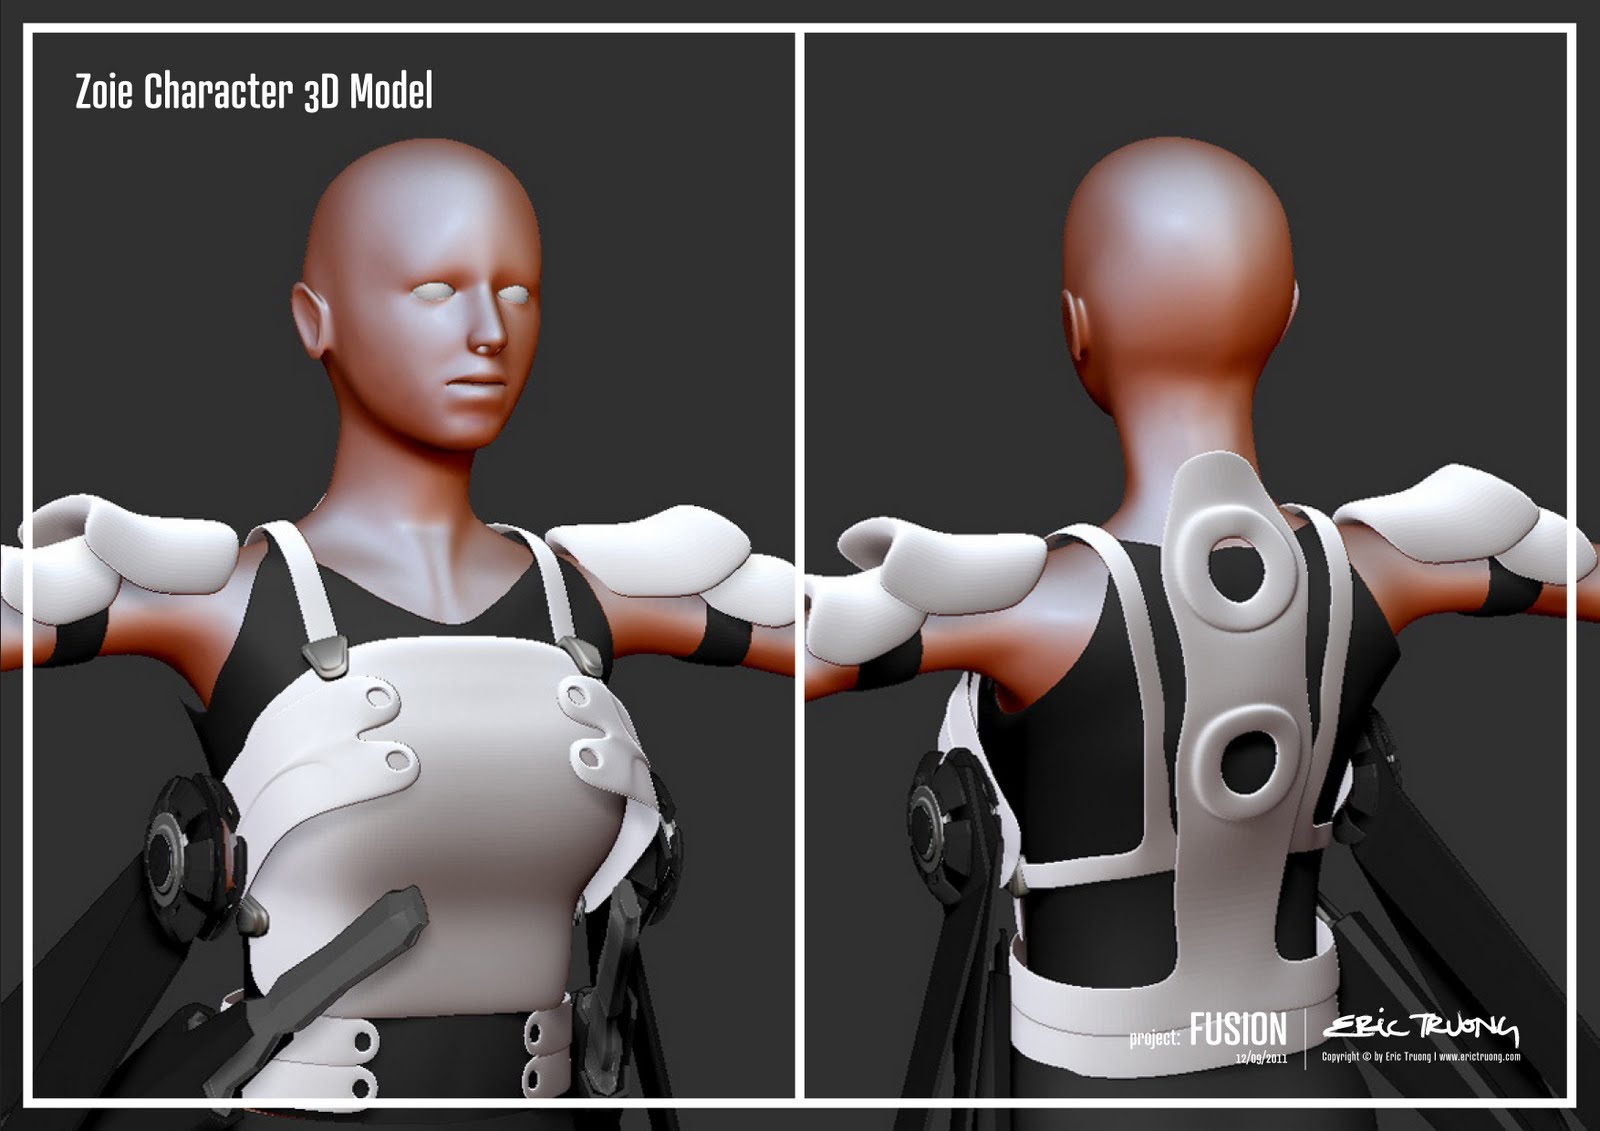
Sunday, October 9, 2011

Modelling WIP11 - Fushi and Zoie

The basic form taking shape for both these characters. Will be adding more details in the next phase of updates.


Concept Designs

Some concept designs on Journey to the Temple of Ancients scene.


Tuesday, October 4, 2011

Scene Concepts WIP02

A revised concept of the Journey to the Temple of Ancients.


Point form description:
• The year is 2186, on a planet call Corel.

• Zoie a 7th generation farm girl wonders around the Temple of Ancients in search for her run away creature Fushi.

• The temple of Ancients is believe to be the first origin of mankind landing on Corel.

• From generation to generation, the knowledge of human existence on Earth and how man arrived to Corel is lost and forgotten.

• Zoie finds Fushi nearby a wreckage and turns out that she discovers a space pod which could hold information about their past.

• Zoie straps this spaceship to Fushi and tow it back to her village, in desire to unlock the truth and forgotten knowledge.


Environment:
Corel is differentiated into layers of rocky center surrounded by several layers of composed living plantation. It’s a relatively new planet with minimum asteroid impact. Corel has hundreds of times more liquid hydrocarbons than all the known oil and natural gas reserved on Earth. The gravity on Corel is slightly more heavier mass and weight than Earth.

Climate: Ranges from -67°C to 62°C has four season with rain, hail and snow during parts of the year. On a perfect day the sky is tinted green blue.

Size: Half the size of Earth.

Current population: est 48,000 humans scattered around habitable regions mainly farmlands.

Sunday, October 2, 2011

Scene Concepts WIP01

New concept for this project.

Journey to the Temple of Ancients

Guardian Attack

Towards the Energy Tower

Monday, September 12, 2011

Modelling WIP10 - Aurora

Further development of the Aurora. Have a record of 262 parts and went crazy with the UV unwrapping. Used a mix of Headus UV Layout, Road Kill and also Maya unwrapping tools. Though the texture mapping isn't complete but I do generally like the design of it. Heavy robust construction that moves by compressing gas in on it's organic container. The most challenging thing for this model was to import the file into ZBrush. Tested out GoZ and took about an hour to import with problems of the subtool breaking into different categories. A solution to such future project is to import OBJ files in ZBrush which took seconds, use polygroups or in the PolyTools click on Group Split to have it all in separate tools.


Modelling WIP09 - Zoie

I felt the orginal concept I modelled up had problems with the circular device. In this concept I simpflied the character creation though I'm going to rework on it to see what else I can come up with. I still will need to do some testing on the hair creation in 3D.


JUST IN CASE I FORGET NOTES 03

ZBRUSH
Relax the vertices on the mesh while keeping the shape and form go deformation>>relax.
Backface Auto Masking: Brush >> Auto Masking >> Backface Masking

When importing OBJ's into ZBrush and Polygroup is set, selection can be set by holding Ctrl Shift and LM click to select object.

Subtool quick selection, Alt LM Click on object.

MAYA DISPLACEMENT
Alpha Offset for displacement setup when importing file from ZBrush to Maya: =1*0.5*filename.alphaGain


HEADUS UV LAYOUT
Main short cut keys
Plotting Symmetry:
1. Click Find Symmetry
2. Mouse Left Click 1 edge on the center.
3. Press spacebar.

C: Cut Edge
W: Wield Edges
Enter: Separate Faces (After cut area is define)
Shift S: Slice

D: Drop Surface to UV layout
Shift D: Undrop Surface
U: UV edit mode
Shift F: Flatten

]: Rearrange UV Layout spacing

Saturday, September 3, 2011

Modelling WIP08 - Dark Crawler

Getting there with the details. I made further refinements to the Dark Crawler character. I was contemplating on going for something that is rather more evil looking as appose to my other slimy design. All digitally hand painted. For the skin area of the creature I used the Scott Spencer's technique placing in the various underlying skin colours which works very effectively.

Wednesday, August 31, 2011

Modelling WIP07 - Environment

Added more sculpting and texture map details to the environment. Things may still change as I develope it but so far I'm enjoy the step by step progress.

Sunday, August 28, 2011

Scene Setup WIP01

Putting in place the models to setup a basic scene that resemble a start of an intense action moment. I envision to have a camera which flows across this freeze frame moment.


Modelling WIP06 - Dark Crawler

Dark Crawler: I was looking to see if I could push the idea further with the tenticals and this is what I can up with. Thankfully ZBrush's Projection mapping makes our artist life much more easier which I was able to map some parts of the details on the model without too much effort allowing me to put more emphaise and time on the important areas.


Modelling WIP05 - Dark Crawler

Dark Crawler: I kinda like thew look and feel of this creature. Creepy with the long thin tenticals floating on Dark Crawer's back.


Modelling WIP04 - Dark Crawler

Dark Crawler: Moving on to a different concept, I decided to quickly create Dark Crawler from the ground up with ZBrush with out having to worry too much about typology. The idea I wanted with Dark Crawler is to have some resembles of crawling movement, hence I created the character with multipule legs mix with short and long. Still not completely satisfied with these two designs.

Thursday, August 25, 2011

Modelling WIP03 - Environment and Aurora

Environment Model: Had a bit of fun playing around with the shapes and form of the environment. I mainly used the clay tube tool, a brush which can quickly get volume on the form of the mesh which I learnt from the Pixologic ZBrush tutorial video from Simon Blanc tutorial. I also added the twist deformation to these mesh to add a little bit of interest to the form. Most likely will need to retopology the mesh as you can see the vertices are at really obscured but it's a quick rough. I'm in favour of No.1 and No.2 but it may change depending on how well the scene holds up with my characters in place.


Aurora Model: Added further details of the Aurora construction carrier model. Played around with the air pressure container which sits on the body of Aurora. I wanted to have an organic look resembling a cell shape with open holes. To get this form I used ZBrush, one of my favourite 3D application and can be addictive when I jump on it. ZSphere was used for No.1 and No.2, with No.3 I masked an oval shape and extracted a surface from the body in the layer tool box. I still need more work to refine the form but I think it's getting there. Currently I need to find a quicker way to redefine the mesh so that I can lower the poly count. As with the mechanical form probably need more parts to make it look more dense and cool looking.

Fig.1: Aurora air pressure container design.

Fig.2: Aurora air pressure container construction in ZBrush with masking technique.


Modelling WIP02 - Dark Crawler

Dark Crawler: Originally I wanted to find the fasted possible way of creating Dark Crawler and hence I started out creating the base form in ZBrush with ZSphere. Somehow along the way, my mind change and thought it would probably be best to create a base mesh from Maya and then import it into ZBrush for sculpting. With this method I won't have to worry too much about remodelling the character with the correct typology. The lazy smart way so to speak, but while working on it I was constantly concern about the edge flow which really limited my creativity. Not satisfied with the final result of this Dark Crawler concept and will be scrapping it for another concept. ZBrush works wonderfully well with organic forms and it is most likely that I will let go of the worrying about the typology issues and go crazy with my concept in my next attempt.


Fig.1: Base mesh created in ZBrush with ZSphere.

 Fig.2: Base mesh created in Maya with clean edge flow and sculpted and painted in ZBrush.


JUST IN CASE I FORGET NOTES 02

MAYA
CHECK NORMALS: Lighting >> Two Sided Lighting Polygon should turn black if the normals are not facing correctly.


SELECTING POLYGONS: To avoid selecting the back faces in a model go to display > polygon custom display, turn on Backface Culling.


ZBRUSH
Lower Sub Division: To lower Sub Division when there is no division set go to Geometry>>Reconstruct Subdiv

Smart Resym: Mask area you want to mirror sculpt. Go to Deformation>>Smart ReSym

Solo Button: Shows only the working subtool and hides the rest. Preference >> Edit >> Click to Solo and click on the document area will toggle Solo on and off.

SHORT CUT KEY
Zoom in: Hold down alt, click mouse and let go of the alt key, move mouse again.

Assign Custom Hot keys: Hold down Ctrl Alt Click then assign your hot key.

L: Toggles Lazy Mouse on and off.
N: Quick slection for SubtTools.
C: Colour picker. Rollover colour and press C.

Wednesday, August 17, 2011

Modelling WIP01 - Zoie and Aurora

I've started the modelling process and i currently a working in progress. Still a long way to go.


Zoie Model: I guess I don't have to outline which design I went for from Zoie's concept design illustration. I have been doing more hard surface and comical character modeling in the past and this is my first attempt at doing something that is more in line with correct human proportion. To start off building this character from the ground up, I looked at a lot of modelling tutorials so that I can get a better understanding of clean edge flow. The model still needs a lot of detailing which will be imported into ZBrush. The next biggest challenge will be the hair. How this will be done still requires more research and experimenting.

Learning reference materials:

Joan of Arch tutorial by Michel Roger (though it's Max stuff but the principle is the same)
Creative Essence: The Face book by Paul Fedor, Peter Levius, Hong Suck Suh, Matt Hartle, Mark Snoswell, Steven Stahlberg.
Gnomon DVD Digital Sculpting Human Anatomy tutorial by Zack Petro
ZBrush Digital Sculpting Human Anatomy by Scott Spencer


Aurora Model: Aurora was supose to be a giant construction aircraft carrier but from the concept illustration I've change this into a giant mechanical land moving vehicle to give it character. I'm building on my Kit Bashing model as I go along and putting the pieces together.